
Django Template Language (DTL) Explained: Part 1 for Beginners
Django Template Language Explained, Every view built so far in this course has had the same problem buried inside it. The homepage, the About page, the blog post view — each one carries a full copy of the same navbar, the same <!DOCTYPE html>, the same closing tags, all sitting inside a Python string. Add a tenth page, and you’re maintaining ten near-identical copies of that boilerplate. Change one word in the nav, and you’re editing ten files by hand.
That’s the exact problem Django’s template system was built to solve. This is where the course actually gets to use it.
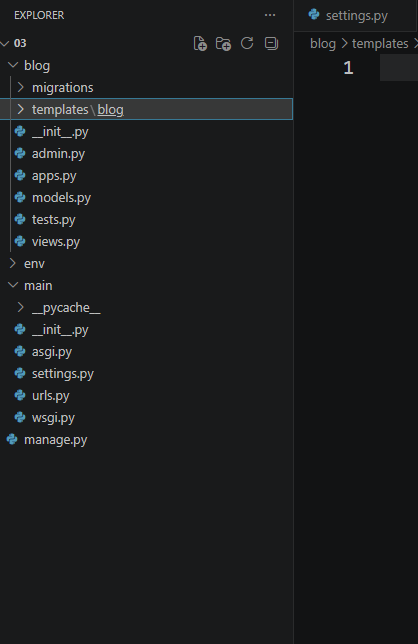
Table of Contents
What a Template Actually Is (Django Template Language Explained)
A template is just an HTML file that Django can fill in with data at the moment a page is requested, instead of that HTML living as a string inside a Python function. Django’s Template Language, usually shortened to DTL, is the small set of syntax rules that let a plain HTML file do things a plain HTML file normally can’t — starting, in this lesson, with displaying a value passed in from a view.
It’s not a new programming language to learn from scratch. It’s a fairly small vocabulary layered on top of HTML, and Part 1 only covers the first piece of it.
Step 1: Setting Up a Templates Folder
Django looks for templates in a specific place. Inside your app, create this structure:
blog/
    templates/
        blog/
            home.html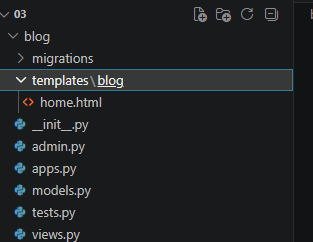
That nested blog folder inside templates looks redundant at first, but it exists to prevent naming collisions — if two different apps both have a home.html, this structure keeps them from overwriting each other in Django’s lookup.
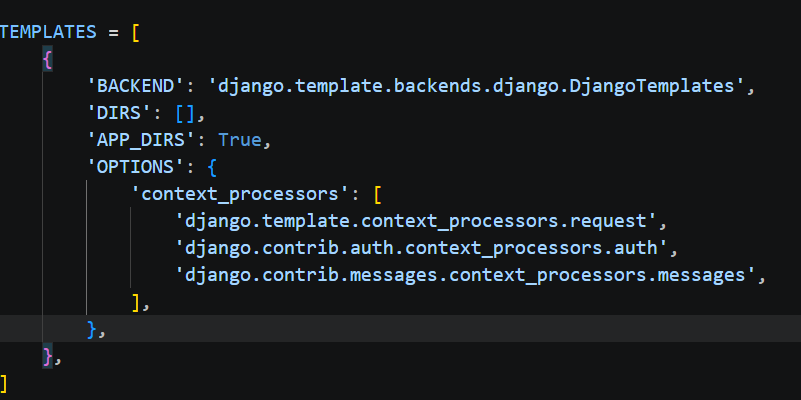
Then check settings.py. By default, Django’s startproject command already configures the TEMPLATES setting to search inside each app’s templates folder automatically, so in most cases nothing needs to change here — it’s just worth knowing this is the setting that makes the folder structure above actually work.
Step 2: Moving HTML Out of the View
Take the homepage HTML you’ve been building through HttpResponse and move it into home.html almost exactly as it was:
html
<!DOCTYPE html>
<html lang="en">
<head>
<meta charset="UTF-8">
<title>My Django Site</title>
</head>
<body>
<nav>
<a href="/">Home</a>
<a href="/about/">About</a>
</nav>
<main>
<h1>Welcome to my site</h1>
<p>This homepage is now rendered from a real template file.</p>
</main>
<footer>
<p>© 2026 My Django Site</p>
</footer>
</body>
</html>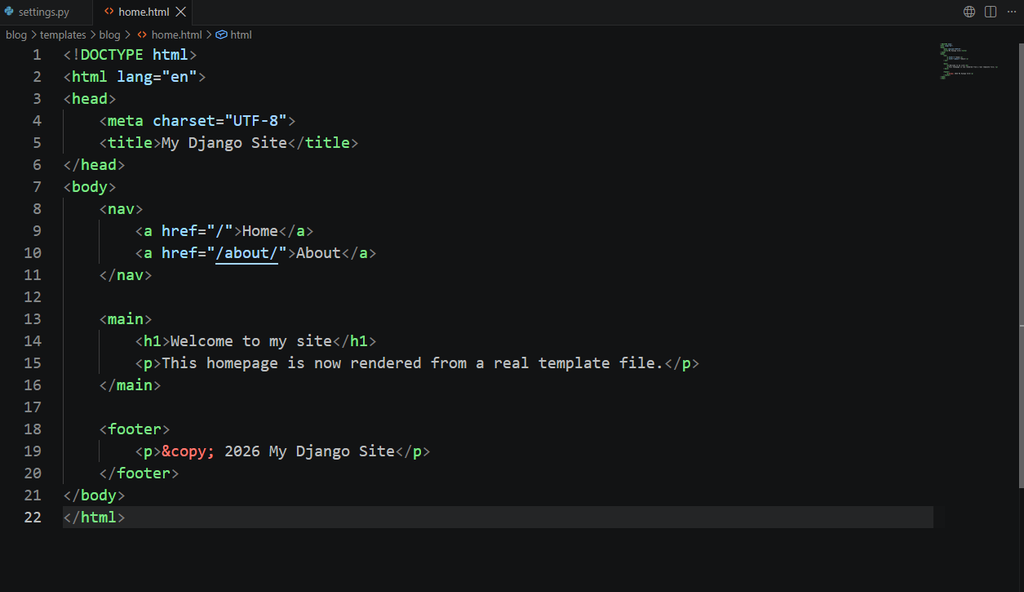
Notice this is plain HTML right now — no DTL syntax yet. That’s intentional, to show that a template is still just an HTML file first, before anything special gets added to it.
Step 3: Rendering the Template From a View
Update your home view to use render() instead of building the HTML manually:
python
from django.shortcuts import render

def home(request):
    return render(request, 'pages/home.html')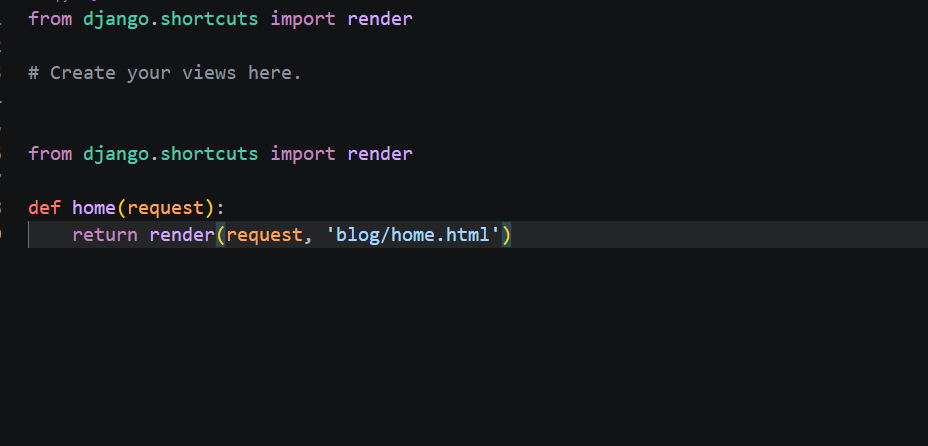
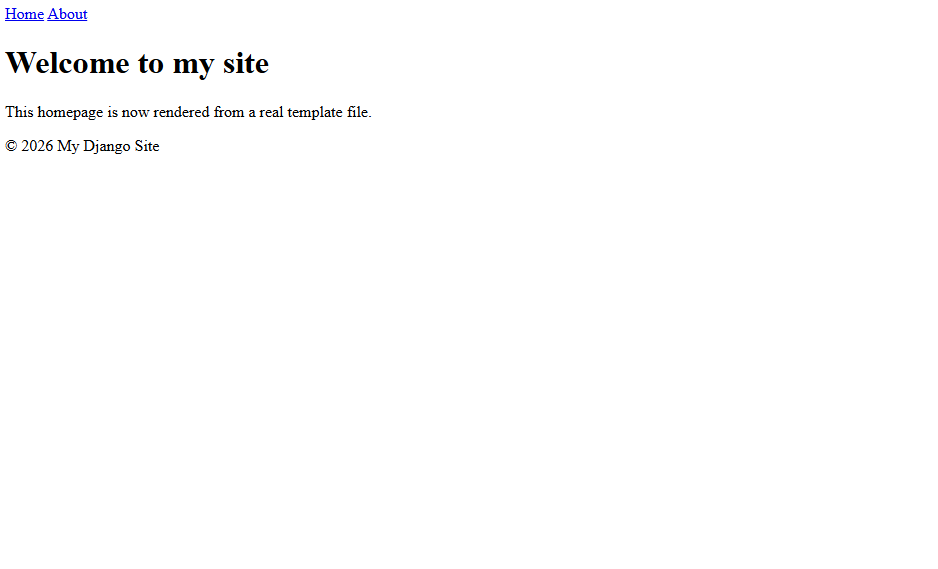
That’s the whole view now. render() takes the request, finds the template by its path, and returns it as an HttpResponse behind the scenes — you don’t have to build the response object by hand anymore. Refresh your browser, and the page should look identical to before, just coming from a file instead of a string.
Step 4: Displaying a Variable With DTL
Here’s where DTL syntax actually shows up, and where this lesson stays focused. Update the view to pass some data along with the template:
python
def home(request):
    context = {
        'site_name': 'My Django Site',
    }
    return render(request, 'pages/home.html', context)
That dictionary is called the context. Now, inside home.html, reference it using double curly braces:
html
<h1>Welcome to {{ site_name }}</h1>Reload the page, and instead of hardcoded text, you’ll see whatever value the view passed in. That double-brace syntax, {{ variable_name }}, is the core of DTL for this lesson — it’s how a template pulls in a Python value and displays it as text.
Try It With a Second Variable
Add one more value to the context to get comfortable with the pattern before moving on:
python
def home(request):
    context = {
        'site_name': 'My Django Site',
        'tagline': 'Learning Django one lesson at a time.',
    }
    return render(request, 'pages/home.html', context)
html
<h1>Welcome to {{ site_name }}</h1>
<p>{{ tagline }}</p>
Nothing complicated here, just repetition of the same idea — a Python value goes into the context dictionary, and {{ }} pulls it into the HTML wherever it’s referenced.
[Screenshot spot: your rendered homepage showing both variables displaying correctly — worth noting what values you actually used.]
What Hasn’t Been Covered Yet
This post stops deliberately at variable display. Logic tags like {% if %} and {% for %}, along with template inheritance using {% extends %} and {% block %}, are both covered in separate lessons later in this series rather than rushed in here. Trying to absorb variables, conditionals, loops, and inheritance all in one sitting tends to blur together — keeping this one scoped to just {{ }} makes it easier to actually retain.
A Mistake Worth Flagging Early
If your template renders blank or throws a “TemplateDoesNotExist” error, the nested folder structure — templates/pages/home.html, not just templates/home.html — is the first thing to check. It trips up almost everyone the first time, myself included.
Series Connections
This lesson replaces the HttpResponse-based approach used throughout the earlier posts in this series, including the dynamic single post page tutorial — worth revisiting to see exactly what problem templates are solving. For the complete reference on variables and context beyond what’s covered here, the official Django documentation on the template language is worth keeping open while practicing.
Try converting your About page to use render() and a {{ }} variable on your own before the next lesson. That repetition is what makes this piece stick before tags and inheritance get introduced.